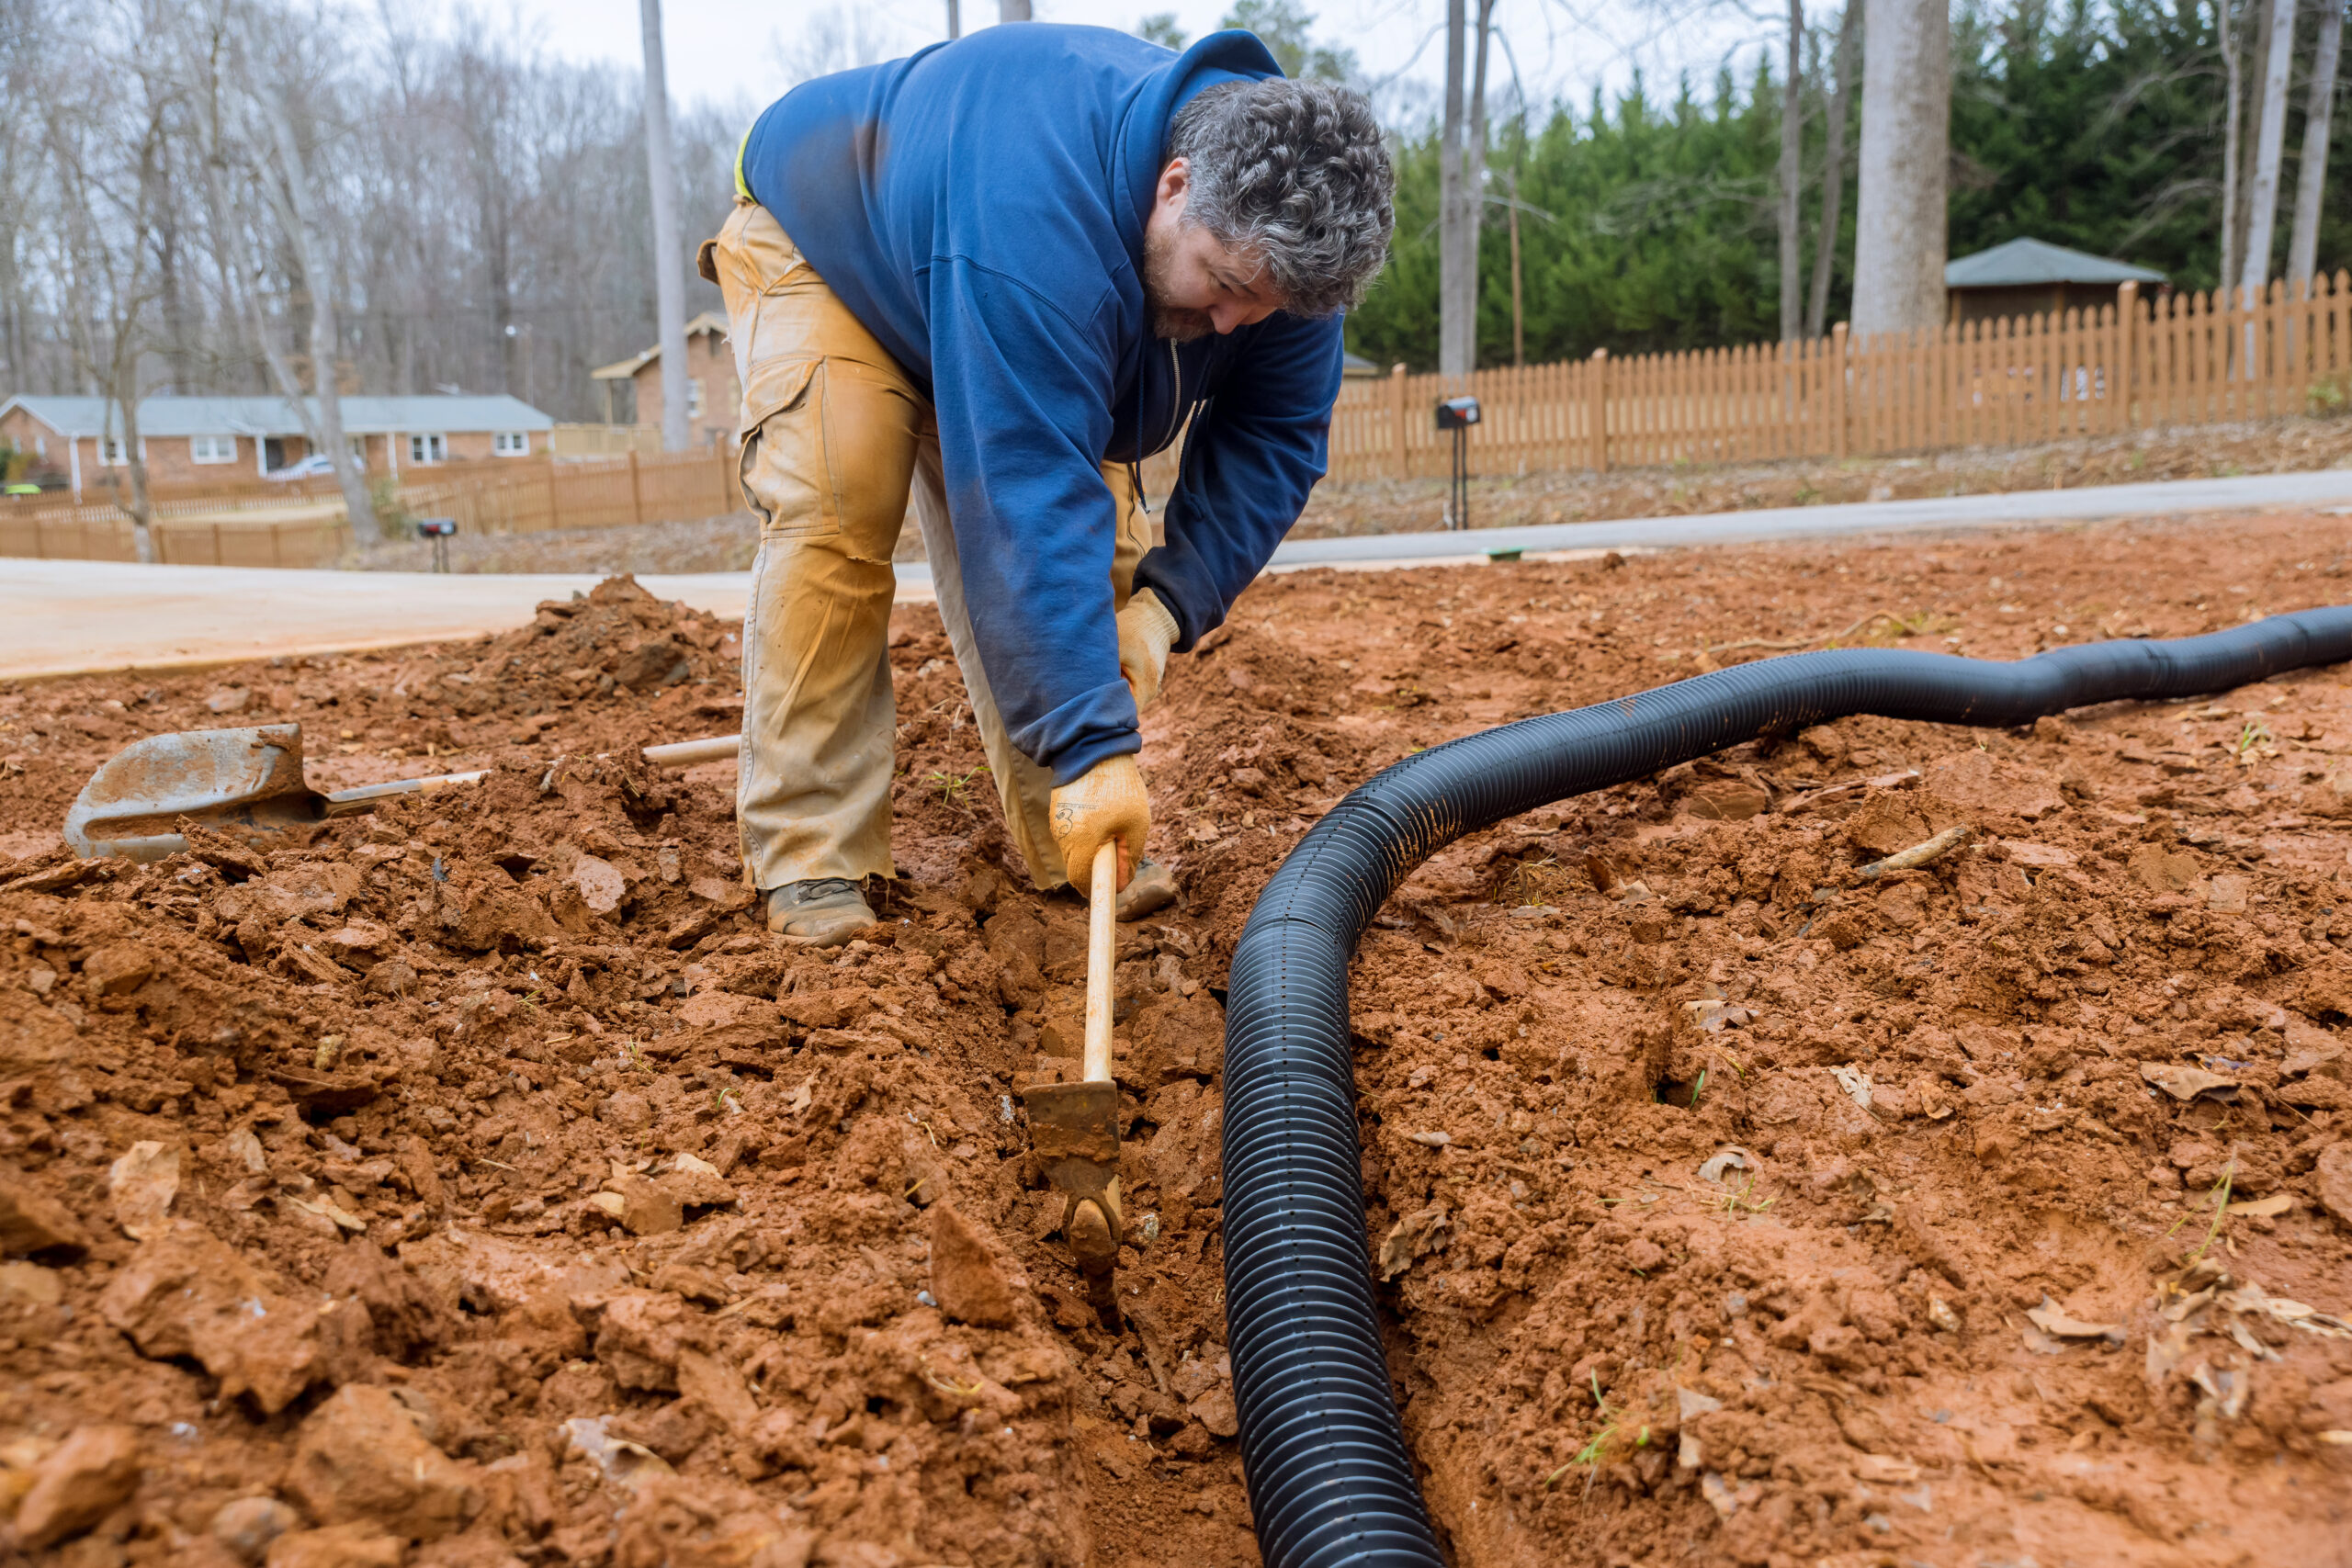
Proper drainage is pivotal in ensuring a secure, comfortable living or working environment for property owners. Not only do effective drainage systems reduce the risk of water damage, mold, and mildew, but they also preserve the integrity of the land and property value. One of the most versatile and efficient drainage techniques available is the use of French drains, an unobtrusive and effective method to direct water away from buildings and manage excess moisture on a property.
In this article, we aim to provide a comprehensive overview of French drains, discussing the principles behind their design, their various applications, and the benefits that property owners can experience by incorporating them into their drainage solutions. Additionally, we will guide you through a step-by-step process to install French drains on your property, enabling you to enhance your property’s drainage capabilities and protect it from potential water damage.
1. Principles of French Drains
French drains, named after their inventor, Henry French, are an ingeniously simple yet highly effective drainage system. Comprising a gently sloping trench filled with gravel and a perforated pipe, French drains work to collect and redirect excess water from the surface and subsurface soil layers. As water fills the trench, it flows through the gravel and into the perforated pipe, which then transports the water away from the potential problem area.
The design and layout of French drains depend on the specific drainage challenges faced by a property, as well as factors such as soil type, local topography, and water sources. Although the principle behind French drains is relatively simple, proper planning and installation are crucial to ensuring their effectiveness in managing water-related issues on a property.
2. Applications and Benefits of French Drains
French drains can be employed in a variety of residential, commercial, and governmental property settings to address different drainage challenges. The following are some of the primary applications and benefits of utilizing French drains:
– Basement Waterproofing: French drains can be installed along the perimeter of a basement to intercept water before it enters the foundation walls, directing it away from the building and preventing water damage.
– Surface Water Control: French drains effectively manage excess surface water in landscapes, preventing it from ponding or causing soil erosion.
– Subsurface Water Management: French drains manage excess subsurface water in waterlogged soils, improving soil quality, and promoting healthier vegetation.
– Retaining Wall Drainage: Installing French drains behind retaining walls can relieve hydrostatic pressure, thereby preventing potential damage to the wall structure.
The versatility and adaptability of French drains make them a valuable component of any property owner’s drainage solution toolbox, addressing a wide range of water management challenges and preserving the integrity of the property.
3. Installing French Drains: A Step-by-Step Guide
Although French drain installation may require professional assistance for more complex projects, property owners can follow these steps to install simple French drains on their property:
Step 1: Identify the Problem Area
Observe your property during rainfall events to identify any areas prone to water pooling, soil saturation, or other drainage issues.
Step 2: Plan the Drain Route
Design your French drain to redirect water from the problem area to a suitable discharge point, such as a storm sewer, drainage swale, or dry well. Confirm that the intended discharge point complies with local regulations.
Step 3: Dig the Trench
Excavate a trench along the planned drain route, ensuring a consistent slope downward to the discharge point. A slope of 1% to 2% is usually sufficient for effective water flow.
Step 4: Install Filter Fabric
Line the trench with landscape filter fabric to prevent soil infiltration into the French drain while allowing water to flow through.
Step 5: Add Gravel Base Layer
Place a 2-3 inch layer of coarse gravel along the bottom of the trench to promote water flow and provide a stable base for the drain pipe.
Step 6: Install Perforated Pipe
Lay the perforated pipe, ensuring the holes face downward to prevent sediment from entering the pipe. Slightly slope the pipe to ensure proper water flow towards the discharge point.
Step 7: Fill with Gravel
Cover the pipe with additional gravel, filling the trench until it is approximately 2 inches below ground level.
Step 8: Fold and Secure Filter Fabric
Fold the edges of the filter fabric over the gravel, enclosing the drain system, and securing it in place.
Step 9: Complete with Topsoil and Sod
Fill the remaining trench with topsoil, and install sod or other ground cover to restore the landscape.
4. Maintenance and Care for French Drains
Regular maintenance is essential to ensure the longevity and performance of your French drain system. Inspect your drain after significant rainfall events, checking for blockages or other issues. Clear any buildup of debris and sediment, and replace any damaged sections of the pipe as necessary. Taking care to maintain your French drain system can help you avoid costly repairs in the future.
Conclusion
French drains offer a versatile and effective drainage solution for residential, commercial, and governmental property owners, helping to protect properties from water damage and promote healthy landscapes. By understanding the principles, benefits, and installation process of French drains, property owners can implement drainage solutions tailored to their specific needs, safeguarding their valuable investments.
At Drainage Team, we specialize in comprehensive drainage solutions, including the design and installation of French drain systems. Contact our team of drainage installers today to discuss your property’s drainage needs and discover how our expertise can help you create a safe, dry, and comfortable environment for you and your property.


